Continue Course
Nice Work!
You have completed Full Stack Fundamentals, v3
|
|
Full Stack Fundamentals, v3
Learn what it means to become a full-stack engineer. Get hands-on with setting up your own server to build and deploy web applications from scratch. You'll dive deep into servers, work with the command line, understand networking and security, set up continuous integration and deployment, manage databases, and build containers. Become a well-rounded engineer and gain the confidence that you can build any type of application!
Course Progress
Lessons Completed
0
Lessons Remaining
0
Time Remaining
0 hr 0 min
0% completed
0% remaining
Course Detail
Published: April 18, 2023
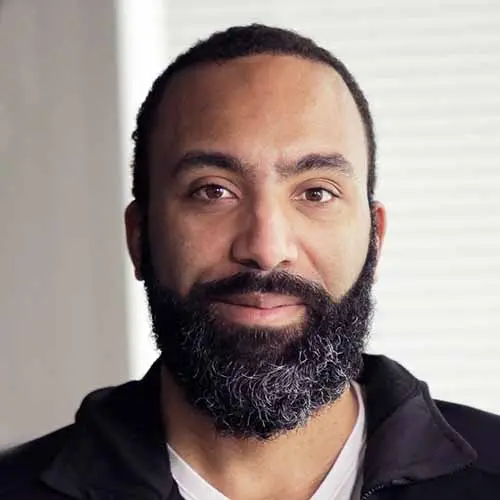
Jem Young
Jem is an Engineering Manager based out of Oakland, California. When he’s not watching it, you can find him at Netflix where he leads the Web Platform team. In his free time, he hassles other engineers to write more tests.