The Complete Intro to React Course
Learn to build real-world apps with React 18 and React 19. Use tools like Vite, ESLint, and Prettier to scaffold a project and the latest React and TanStack features to build a complete e-commerce application.
Why Learn React?
Broaden Your Frontend Skills With The Web's Most Popular Framework
Stay Ahead with React 19 Features
Explore the React Ecosystem
Go Under the Hood
Step-by-Step from Setup to Deployment
What You'll Learn
Build Real-World Applications with Modern React APIs
This is a complete intro to React - no previous React experience required. A solid foundation in HTML, CSS, and JavaScript is recommend. Experience with Node/NPM and the commandline is also helpful.
- Scaffold a new React project from scratch with modern tooling like Vite, ESLint, & Prettier
- Use JSX to build UIs with its familiar HTML-like syntax and add interactivity and dynamic data using common React hooks like useState, useEffect, and useContext
- Explore the React ecosystem while building more robust routing and state management with TanStack Router and TanStack Query
- Write tests for your React apps using Vitest and get hands-on experience with the latest React 19 features.
Use the Latest Tools to Start Building with React
Including TanStack Router, TanStack Query, and industry-standard tools like Vite, ESLint, and Prettier.
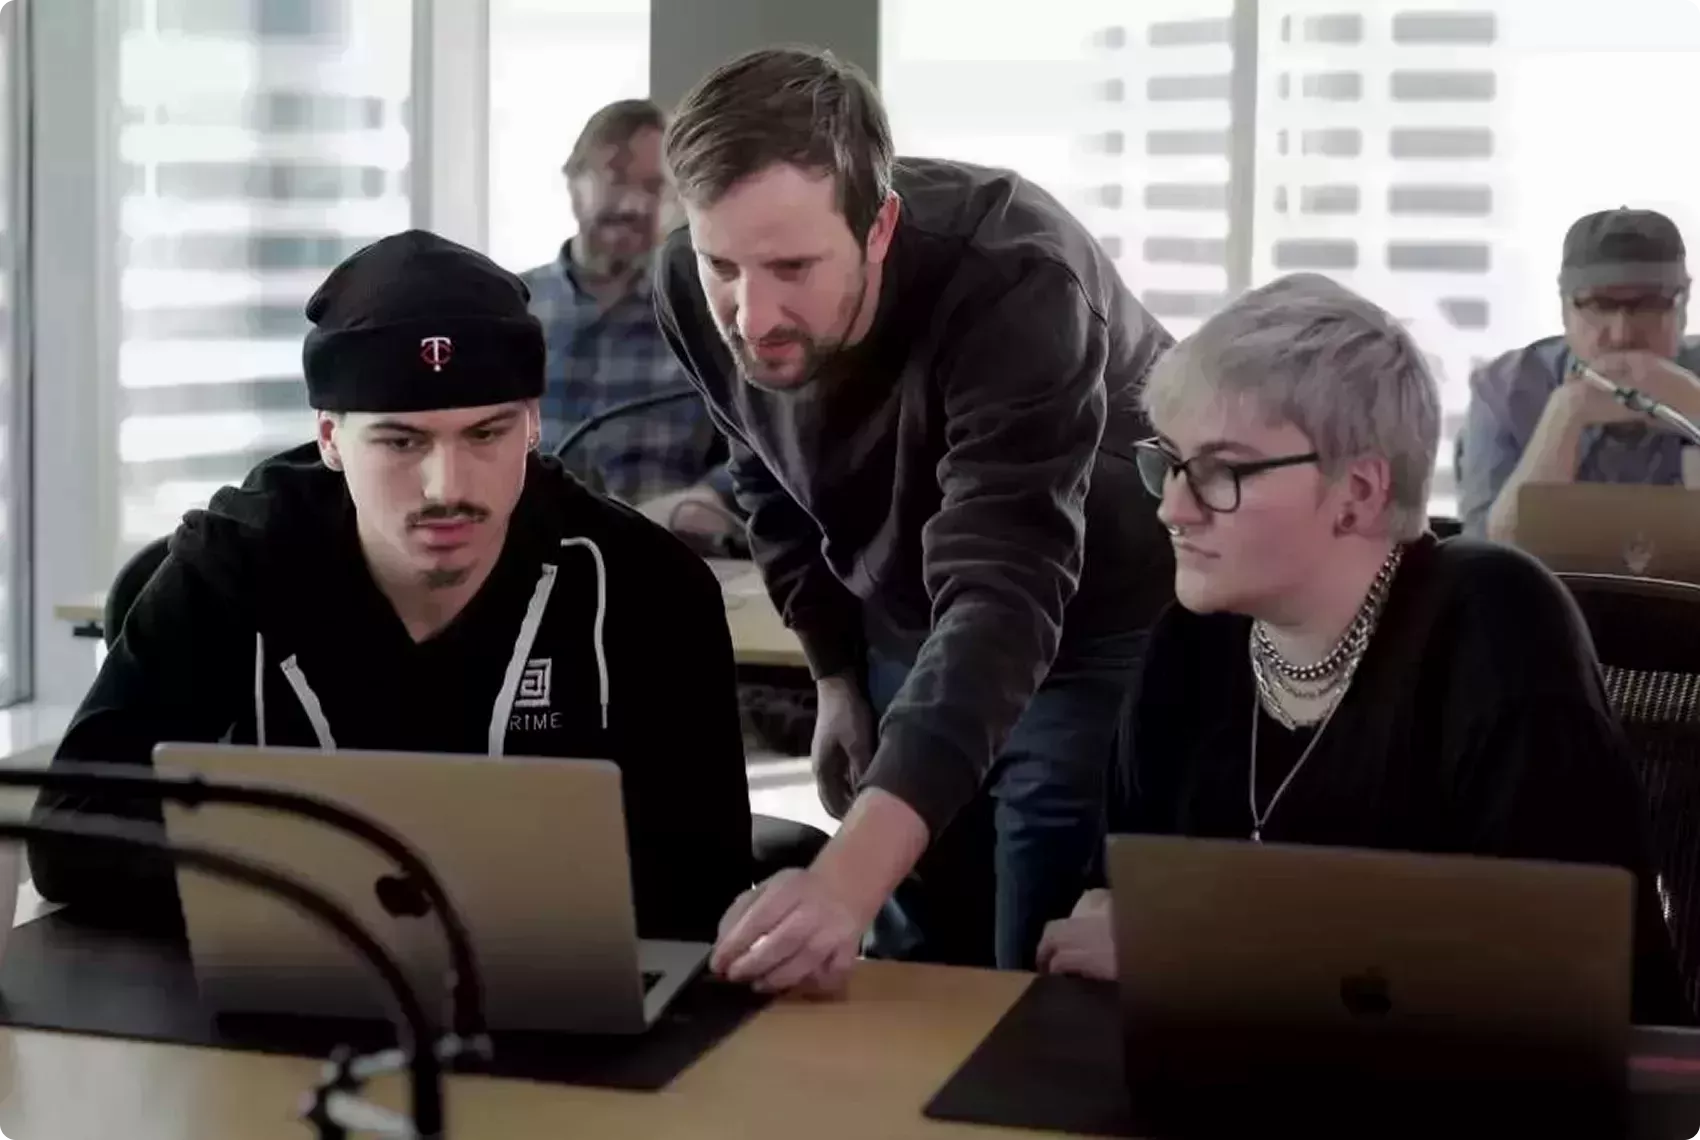
Your (Awesome) Instructor
An Engineer, Leader, & Teacher Who Builds for Top Companies
With deep experience building developer tools at Microsoft, Stripe, Netflix, and Reddit, Brian Holt brings a passion for engineering, teaching, and creating world-class developer experiences to every project.
Staff Product Manager
Product Manager
Senior UI Engineer
Coursework

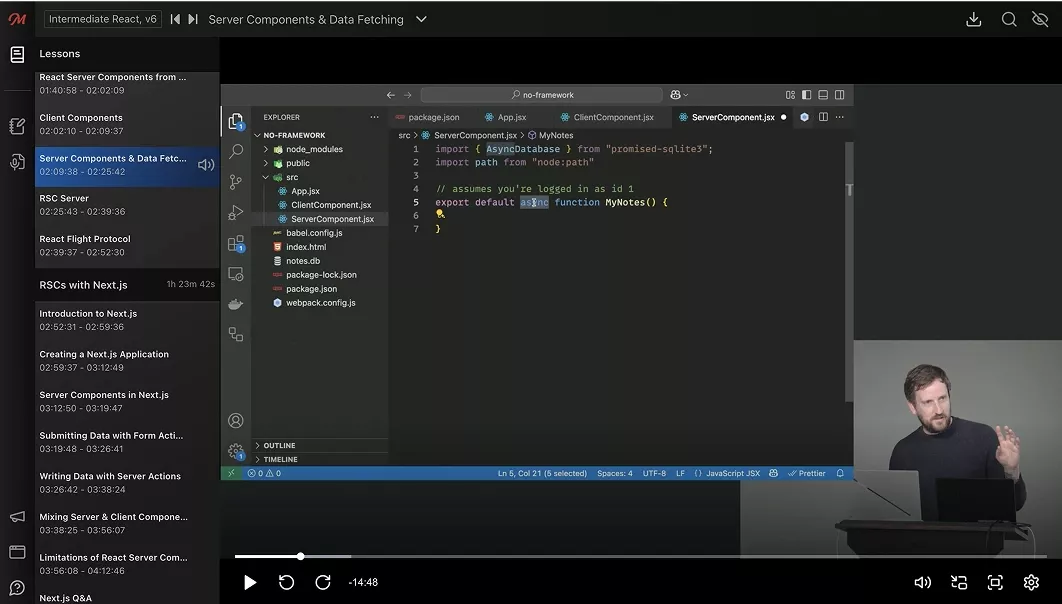
Best in Class Course Player
Your React Learning Adventure Begins Here
- Course Progress: Learn at your own pace and pick up right where you left off.
- Robust Note-Taking: Take notes alongside transcripts to easily reference information while learning.
- Quizzes & Flashcards: Reinforce your learning with quizzes and flashcards after every lesson.
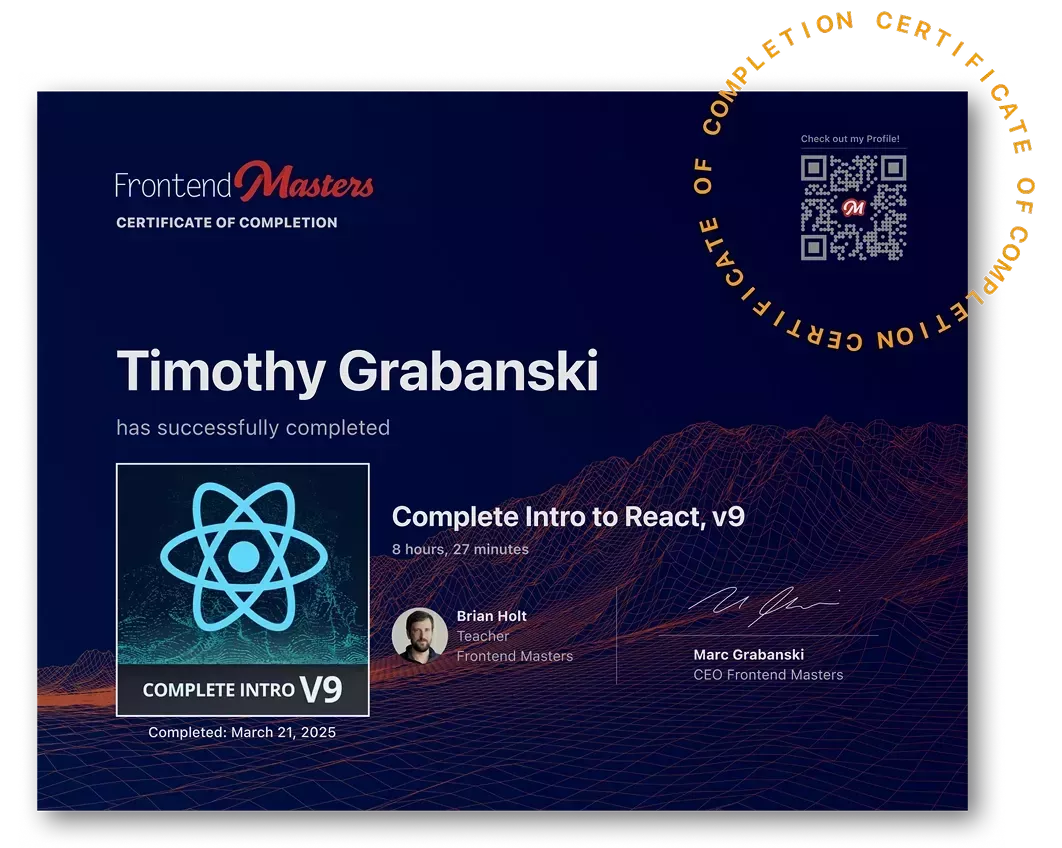
Earn a Completion Certificate
After completing this course, you'll receive a certificate of completion that serves as proof of your achievement, showcasing your expertise, and commitment to professional development. You can easily share this certificate on your LinkedIn profile to highlight your new skills and demonstrate continuous learning to potential employers and professional connections.
Get Started with The Complete Intro to React and Much More
- 250+ In-depth Courses
- 24 Learning Paths
- Industry Leading Experts
- Live Interactive Workshops
What They're Saying about Brian Holt


I learned React from Brian's v5 course; this updated one is great. He is a GEM!!

Even having experience with React, working as a Front End Developer for 3 years, and being familiar with the technology, I found it very cool, interesting, and fun. I was able to learn new things—very small but quite significant details—and not just about React, but about Front End development in general as well: a little bit of accessibility, a little bit of testing, a little bit of the config tools/bundlers, etc. Great introductory course and great for refreshing concepts too.