Continue Course

Nice Work!
You have completed Creative Coding with Canvas & WebGL
|
|
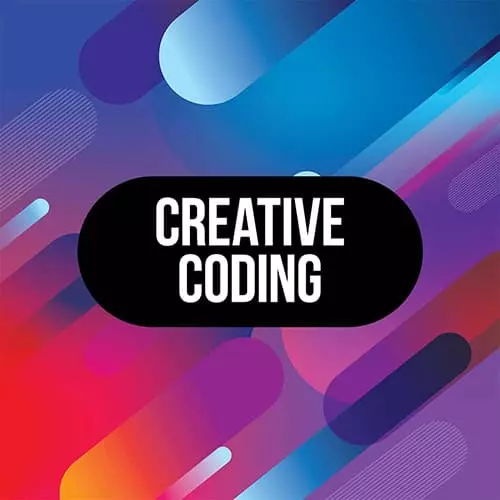
Creative Coding with Canvas & WebGL
Learn to use Canvas and WebGL with ThreeJS in this JavaScript course on Creative Coding! Tour the vast landscape of graphics programming on the web. Learn about generative art, interactive animations, 3D graphics with ThreeJS, and custom shaders in GLSL.
These are the fundamental concepts behind creative development work, including VR/AR apps, games, art installations, interactive web experiences, and various other forms of computational arts.
Course Progress
Lessons Completed
0
Lessons Remaining
0
Time Remaining
0 hr 0 min
0% completed
0% remaining
Course Detail
Published: December 11, 2018
Matt DesLauriers
Matt DesLauriers is a freelance creative developer. DesLauriers designs and develops creative technology projects, including digital installations, rich 3D web experiences, generative art, interactive games, data visualizations, and more.